


Teabag holder
- Mar 4, 2017
- 2 min read

Hi everyone!
I decided to try some 3D projects for a change.
I got the idea for the teabag holder from Stampin Up demonstrator Sam Hammond. She has a great video tutorial on her website:
http://pootles.co.uk/2014/03/24/stampin-up-uk-tea-bag-holder-folder-tutorial/
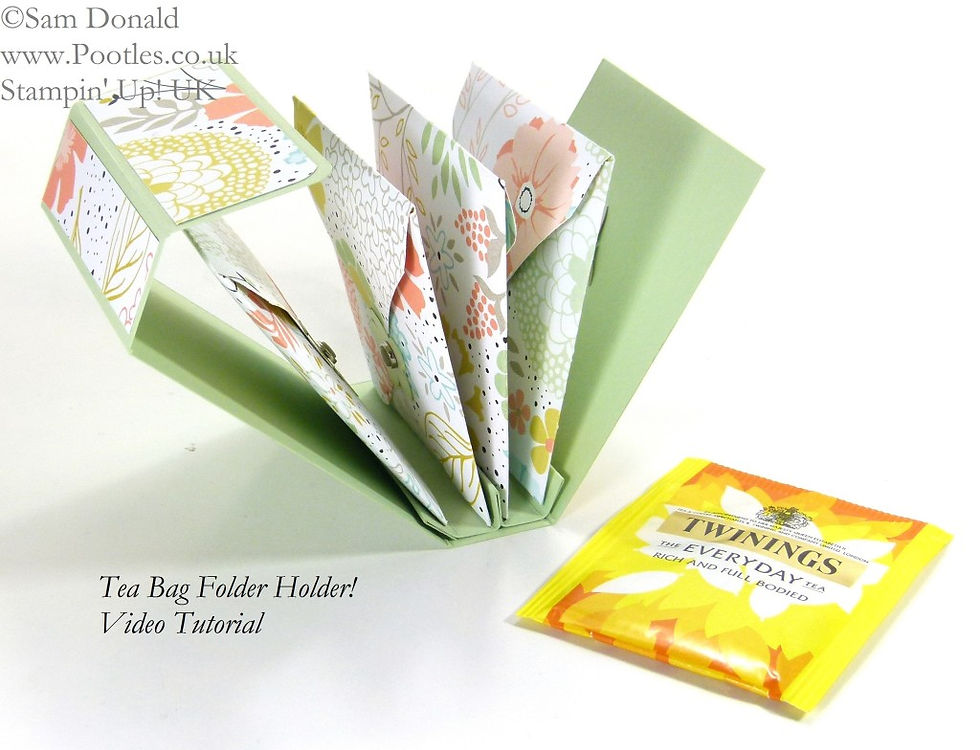
The dimensions for the card as are follows:
For the wrap: 26.5 x 8cm
For the inner (the part that holds the envelopes):
8 x 7.5cm
Envelopes: 12.7 x 12.7cm
The patterned pieces for the wrap: 7.5 x 2cm AND 7.5 x 3cm AND 7.5 x 5cm
To make your life easy, you need a Hougie board or some kind of scoring board.

You need to score the WRAP at 9, 11.5, 20.5, 23cm
and the INNER at 1, 2, 3, 4, 5, 6, 7cm.
The video shows you how to fold the inner into three tabs (see above). You then stick this to 'bottom' of the outer wrap. Then make sure you round the edges of the end of the wrap that flaps over.
Next, stick the three pieces of patterned paper to the outer wrap. The back is left plain.
To make the envelopes, again you really need an Envelope Punch board like the one from WeR Memory Keepers. I couldn't manage without mine!

Score/punch the first line at 6cm. Once you've made the envelopes, stick them to the tabs as shown above. They face into each other, and two are attached to either side of the central tab.
Finally, punch out some flowers (or use a cut file) and secure with a brad to make a 'clasp'. I used the 12 Petal Flower by Lori Whitlock. You need a layered one for the box and four smaller, single layer ones for the envelopes. To attach the brads, just make a small hole in the appropriate place and gently insert.

And here is the paper I used.
If you get stuck at any point, watch the video as it's amazing.
Happy crafting! xx
Comments